In December 2025, several major industrial and software vendors publicly doubled down on a clear direction: AI-driven design workflows paired with production-grade 3D printing are moving from “interesting pilots” to competitive necessity. If you design tools—whether jigs and fixtures, cutting tools, molds, hand tools, or custom end-effectors—this convergence is reshaping how fast you can iterate, how light you can make parts, and how reliably you can hit tolerances.
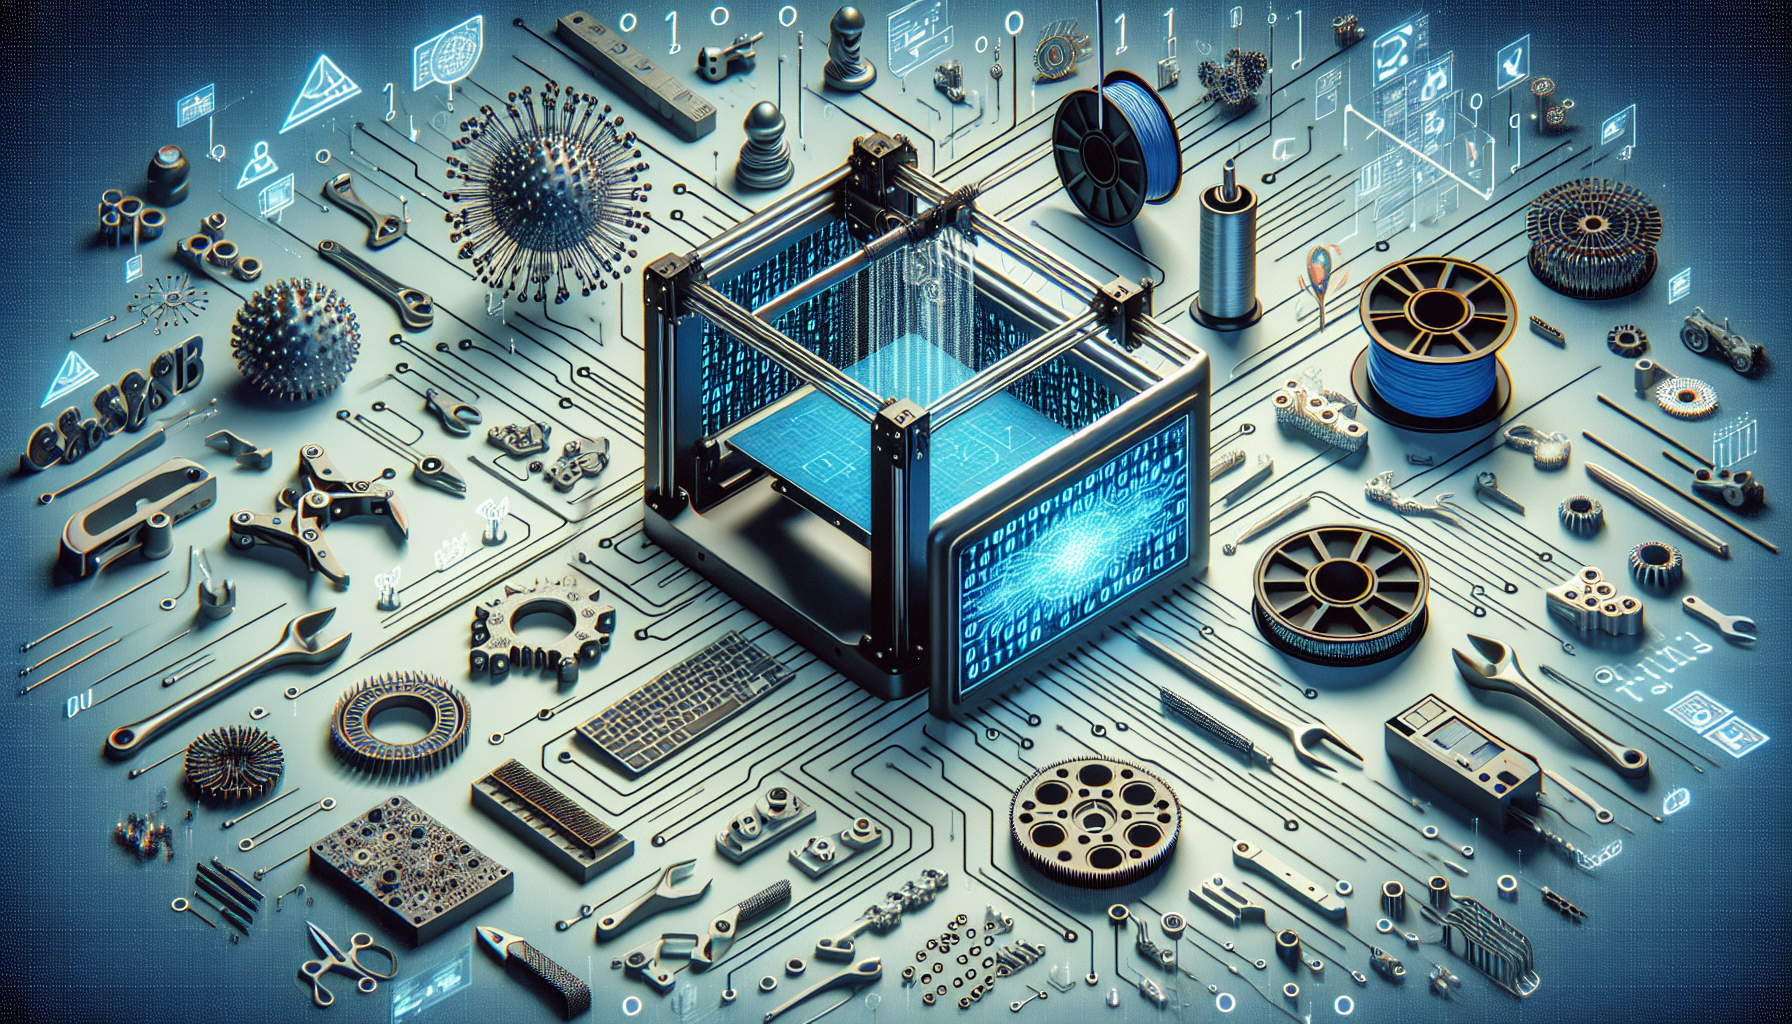
AI + 3D printing: the new baseline for modern tools design
Tools design has always been a balancing act between strength, weight, manufacturability, and cost. What has changed is the speed and intelligence of the feedback loop: AI can propose geometry, predict failure, and optimize parameters, while 3D printing can produce complex shapes without the constraints of traditional machining. Together, they reduce the time between “idea” and “in-hand tool” from weeks to days—or even hours for smaller fixtures.
In practice, this means more organizations are treating tools design as a continuously optimized system rather than a one-off engineering task. As a result, design teams are shifting effort away from repetitive CAD work and toward requirements definition, validation, and process control.
What’s new right now: recent developments shaping tools design (last 30 days)
Recent announcements in late 2025 have emphasized three themes: (1) deeper AI integration inside CAD/CAE platforms, (2) more automation in additive manufacturing workflows, and (3) stronger quality assurance for end-use parts. These trends directly affect tools design because tooling often needs fast turnaround, predictable performance, and repeatability across builds.
AI design copilots and generative workflows are expanding in mainstream CAD
In the past month, multiple CAD ecosystems have highlighted expanded AI-assisted features—particularly around generative design, automated drawings, and design intent capture. For tools design, the immediate benefit is rapid exploration of fixture topologies, lattice-filled handles, and weight-reduced brackets while maintaining stiffness targets.
These updates also matter because they reduce the friction between concept and manufacturable geometry. Instead of exporting and reworking models repeatedly, more teams are keeping optimization, simulation, and DfAM (Design for Additive Manufacturing) checks inside a single workflow.
Automation is reaching the shop floor: print preparation, monitoring, and QA
In the last 30 days, additive manufacturing vendors have continued to push automation in build preparation, in-situ monitoring, and post-processing workflows. This is crucial for tools design because tooling is often produced in small batches, where manual setup time can dominate total cost. Automated support generation, parameter selection, and monitoring reduce variability and make it easier to standardize “tooling-grade” print recipes across sites.
Real-world case studies keep validating the same point: tooling is a top ROI category
Across manufacturing, tooling remains one of the most cited high-ROI use cases for 3D printing because it avoids expensive machining setups and enables rapid iteration. Recent industry write-ups and conference recaps (late 2025) have continued to spotlight jigs, fixtures, inspection aids, and ergonomic hand tools as fast wins—especially when AI is used to reduce mass, improve stiffness, or tailor geometry to a specific station.
For ongoing context and vendor updates, see: Additive Manufacturing (SME), 3DPrint.com, and Engineering.com.
Where AI changes the game in tools design (beyond “faster CAD”)
AI’s impact on tools design is not limited to autocomplete-like features. The bigger shift is that AI can help translate functional requirements—loads, clearances, cycle time, ergonomics, and material constraints—into geometry and process settings that are more likely to succeed on the first build.
Generative design for stiffness-to-weight wins
Generative design uses constraints (keep-out zones, mounting points, load cases) to propose multiple viable forms. In tools design, this is especially powerful for fixtures and end-effectors where stiffness, access, and weight are critical. The output often resembles organic bracing that is difficult to machine but straightforward to print.
To make it practical, teams typically apply a “manufacturing reality pass”: minimum wall thickness rules, fillets at stress risers, and standardized interfaces so the tool can be serviced and rebuilt.
AI-assisted simulation and failure prediction
AI-enhanced CAE can speed up early-stage screening by predicting stress hotspots or deformation trends before running full simulations. For tooling, this helps you quickly identify whether a printed clamp arm will creep, whether a fixture will deflect out of tolerance, or whether a handle will fail under repeated impact.
Even when you still run traditional FEA for sign-off, AI can reduce the number of iterations needed to reach a stable design.
Designing for humans: ergonomic optimization and mass customization
Hand tools and operator-assist devices benefit from AI-driven personalization. With 3D scanning and AI-based surface fitting, grips can be tailored to hand size, glove thickness, or specific torque requirements. This is increasingly relevant in high-mix environments where reducing fatigue and improving repeatability directly affects throughput and safety.
3D printing’s practical advantages for tooling (and the constraints you must design around)
3D printing shines in tools design because tooling frequently needs complex geometry, quick iteration, and low-volume production. However, success depends on selecting the right process and designing for the realities of anisotropy, surface finish, and post-processing.
Fast iteration and on-demand spares
When a fixture fails or a station changes, additive manufacturing enables rapid redesign and reprint without waiting for a machine shop slot. This is particularly valuable for lean operations aiming to reduce downtime and inventory. With AI-assisted redesign, teams can also fix failure modes quickly by reinforcing stress regions or changing load paths.
Complex internal features: conformal channels and embedded functionality
For molds, forming tools, and thermal fixtures, conformal cooling channels can improve temperature uniformity and reduce cycle time. For end-effectors and jigs, internal routing for vacuum lines or sensor channels can be integrated into the print. These features are often impractical with subtractive methods but become natural with additive manufacturing.
Design constraints that still matter
Despite the advantages, tools design for 3D printing requires discipline. You must account for build orientation, support strategy, tolerances, and post-processing access, especially for critical interfaces.
- Anisotropy: Strength varies by print direction; align principal loads with stronger axes where possible.
- Surface finish: Plan for machining or polishing on datum surfaces and locating features.
- Thermal and creep behavior: Polymers can deform under sustained load; choose materials and safety factors accordingly.
- Inspection strategy: Define how you will verify internal channels, flatness, and alignment (CT, gauges, or functional checks).
Recent data and measurable impact: cost, lead time, and performance
Organizations adopting additive tooling commonly report reductions in lead time and assembly complexity, especially for fixtures and ergonomic aids. Industry surveys published through 2024 and reiterated in 2025 conference reporting consistently cite tooling as one of the fastest areas to achieve ROI because it avoids custom machining and enables rapid iteration.
To keep your tools design program grounded, track metrics that connect design choices to operational outcomes. The most useful KPIs are not just “print time,” but also downtime avoided, scrap reduction, and throughput improvements tied to better fixturing and ergonomics.
KPIs to monitor in an AI + 3D printing tooling workflow
- Lead time (request-to-install): Compare printed vs. machined tooling cycles.
- First-pass success rate: Percentage of tools that meet tolerance and functional requirements without rework.
- Tool life: Cycles to failure or performance degradation (especially for polymer tools under load).
- Station performance: Change in takt time, rework, or ergonomic incidents after deployment.
- Total cost of ownership: Include labor, post-processing, inspection, and downtime.
For broader market data and adoption context, consult recurring industry reports and analysis from sources such as SME and major additive manufacturing conference proceedings covered by Additive Manufacturing (SME).
Actionable guidance: designing better tools with AI and 3D printing
To get consistent results, treat AI as a design accelerator and 3D printing as a production process with its own engineering controls. The best outcomes come from clear requirements, validated materials, and a repeatable workflow that connects design decisions to print parameters and inspection.
Start with a tooling “requirements sheet” that AI can actually use
AI and generative tools perform best when constraints are explicit. Define load cases, allowable deflection, temperature exposure, chemical contact, and interface tolerances before you generate concepts.
- Functional: clamping force, datum scheme, access needs, cycle count
- Environmental: heat, oils/coolants, UV, cleaning agents
- Quality: critical dimensions, flatness, repeatability targets
Choose the right additive process for the tool’s job
Match the process to the failure mode you cannot tolerate. For example, polymer powder-bed fusion can be strong and consistent for fixtures, while metal powder-bed fusion or binder jetting may be needed for high-temperature or high-wear tooling.
- Polymer (FDM/FFF): fast, low cost; best for prototypes and many shop-floor aids
- Polymer (SLS/MJF): stronger, more uniform; good for production fixtures and housings
- Metal additive: best for heat, wear, and structural loads; higher cost and QA requirements
Design for post-processing and inspection from day one
Many tooling failures are not “design failures” but process oversights—warpage, poor support access, or uninspectable internal features. Build in machining allowances on datum surfaces, include witness flats for measurement, and avoid closed cavities that cannot be cleaned or verified.
Build a reusable library of proven tool features
Create standardized interfaces—bushings, dowel patterns, clamp mounts, and replaceable wear pads—so AI-generated geometry can connect to known-good components. This reduces risk and speeds up qualification, especially when multiple sites need consistent tooling.
Common questions teams ask before adopting AI-driven 3D printed tooling
Will 3D printed tools hold tolerance well enough for production?
Yes, for many fixtures and gauges, but it depends on material, process, and post-processing. Critical locating surfaces often need machining, and you should validate repeatability across multiple builds. If your tolerance stack is tight, design the tool so precision features are separate inserts rather than fully printed geometry.
Is AI reliable enough to trust for load-bearing tool geometry?
AI is best used to generate candidates and highlight risks, not to replace engineering judgment. Treat AI outputs as starting points, then validate with FEA, physical testing, and a controlled print process. The most successful teams establish approval gates: requirements, simulation, printability review, and inspection plan.
How do we protect IP when using AI tools?
Use enterprise-grade tools with clear data handling policies, and avoid uploading sensitive geometry to systems without contractual protections. When possible, run models in controlled environments and restrict training on your proprietary data. Also, maintain internal version control so design intent and change history are auditable.
What’s the smartest first project?
Start with a tool that has clear ROI and low safety risk: assembly fixtures, drill guides, inspection nests, ergonomic handles, or protective caps. These projects create quick wins and generate the process knowledge you need before moving into higher-load or higher-temperature tooling.
Conclusion: the next era of tools design is adaptive, data-driven, and additive
AI and 3D printing are shaping tools design by compressing iteration cycles, enabling geometry that traditional manufacturing struggles to produce, and making customization practical at scale. Recent developments in AI-assisted CAD, automated additive workflows, and stronger QA practices are accelerating adoption—especially for jigs, fixtures, end-effectors, and ergonomic tools. The teams that win will pair AI-generated concepts with disciplined validation, process controls, and standardized interfaces. In short, the future of tools design belongs to organizations that can learn quickly, print reliably, and improve continuously.